Create User Research Environment
Background
To aid in the on going user research surrounding the MRLPA paper identity check process in Sirius the user researchers require an ephemeral environment that is deployed using the mock providers so that all identity providers have the same matching data sets. Due to a limitation in the configurability of the various development/testing environments provided by the third party identity providers, we can’t get data that matches between them all for an end to end journey.
We can therefore choose to deploy the mock third party providers used for local development into AWS to give a consistent response state from those external parties. As the mocks are static we also need certain cases to be staged in Sirius and the LPA Store to allow the user journey flow to work. To achieve the Sirius side of this we are using the S3 Environment back up and restore process used for the Training Environments.
Deploying and Setting up the Environment
Creating the User Research Environment with Mocks
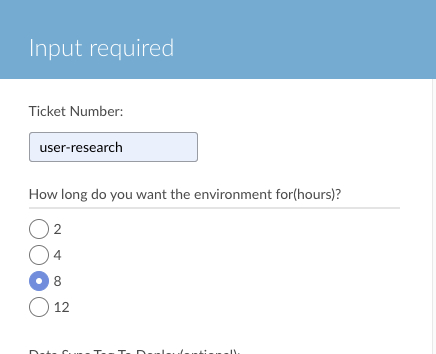
- Run the Create Development Environment Jenkins Job as detailed below.
- Make sure you select the environment as
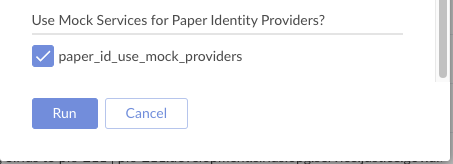
user-researchand check the box that saysUse Mock Services
Pick Environment
Enable Mocks
- Ensure the job runs successfully to completion.
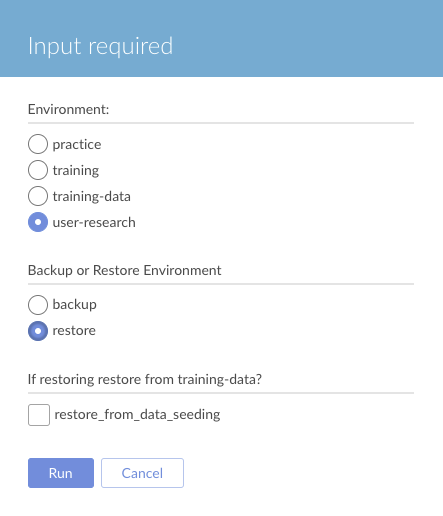
Restore Sirius Data into the Environment
- Run the Backup/Restore Ephemeral Environment as defined below.
Manually Amend LPA Store Data to match Sirius Snapshot
This is currently still a manual step that is sometimes required depending on what prior research has occurred.
- Log into the AWS Console
- Switch to operator in the development LPA Store Account
- Use the search to select DynamoDB in the Console
- User Tables select
deeds-developmentand then the option toExplore table items - Choose to search by Query
- Enter
M-BB4B-E7LX-98AXat the uid and clickRun - In the results select the uid to open the record in the json editor
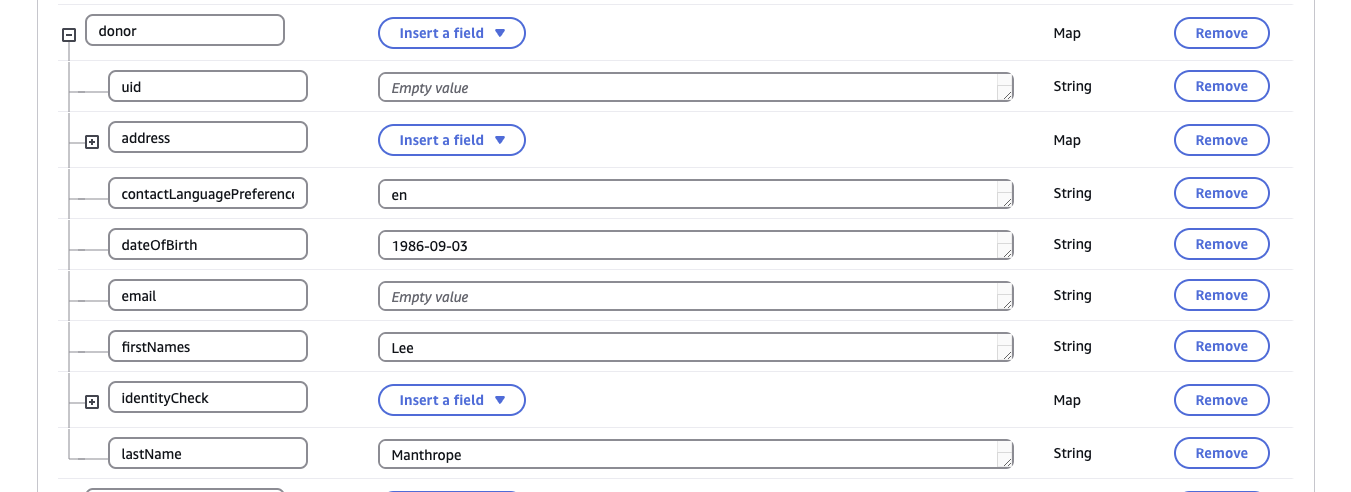
- Expand the
donorsection - If there is an
IdentityCheckkey, selectRemove, thenSave and Close, if there is noIdentityCheckkey you can just close
- Switch to the
changes-developmenttable in the table list - Choose to search by Query
- Enter
M-BB4B-E7LX-98AXat the uid and clickRun - If there is a
DONOR_CONFIRM_IDENTITYrecord, click the tick box next to it and then selectActionsandDelete Items, if there is no record you don’t need to do anything

- Press
Deleteto confirm when prompted


